Growing up, there was a rule in my parents house: you do not show up to someone else’s house empty handed. Not for a dinner party, not for Christmas, not for any gathering where someone has put in the effort to host. A casual get-together you can slide on. The rest? Show up with nothing and you are on KP, otherwise known as dishes and cleanup. It was the rule growing up whenever we had a family supper at someone else’s house, and it has followed me ever since. If I don’t have time to bake then bringing a bottle of wine is fine, but bringing something homemade is always better.
Every year I put together some kind of holiday baking, though what I make changes from year to year. Some years it is something simple like sugar cookies, peanut butter cookies, oatmeal raisin, or shortbread. Kind of depends what ingredients are in the cupboard at the time. But I always have a tin ready for wherever I am headed.
I think that feeling goes back to my childhood. When I was young, my parents always encouraged me to make something for family when we went to receive gifts, so we would have something to give in return. It taught me that life is reciprocal. You do not just put your hand out.
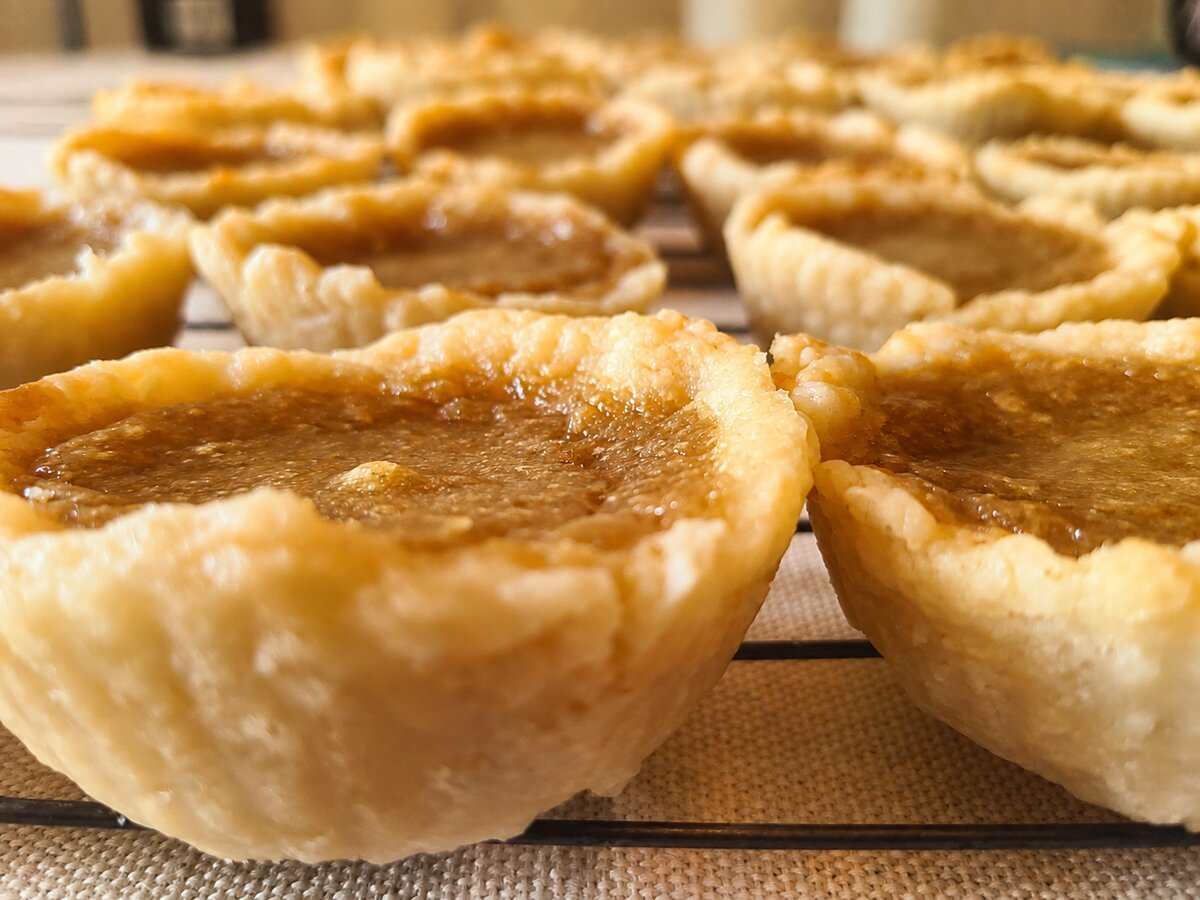
There is something about baking when it is cold outside that feels exactly right. The oven warms the whole kitchen, the house smells incredible, and you end up with something that people are genuinely happy to see on the table. Butter tarts in particular have that effect. They are pure Canadian comfort, sweet and a little gooey, with that slightly caramelised filling that sets just enough in the oven without losing its soft centre.
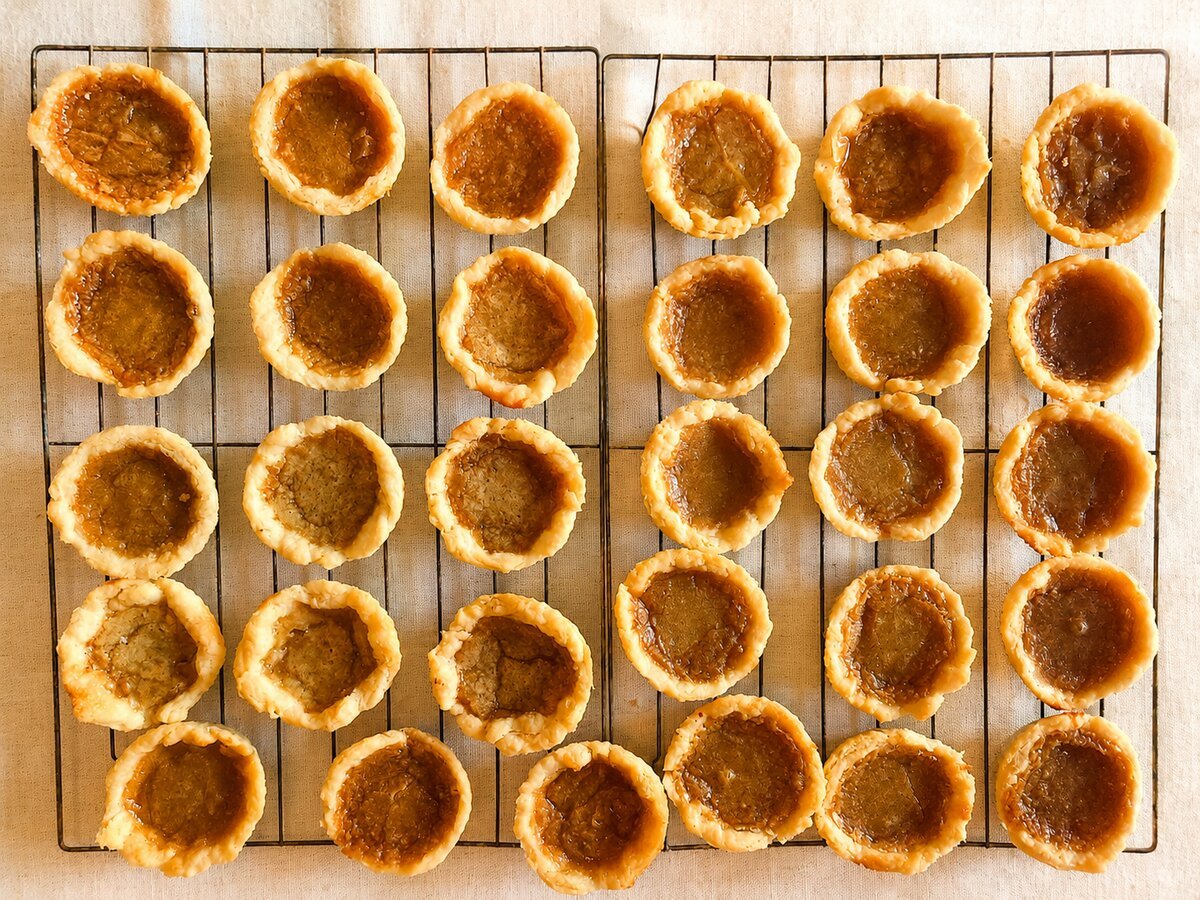
The filling itself is one of the easiest things you will ever make. Homemade butter tarts take a bit more time, but they are worth every minute. A homemade crust makes these taste completely different. It is buttery and flaky and the shell practically shatters when you bite through it into that warm, gooey centre. The dough comes together fast, and the only thing it really asks of you is patience while it chills.
Homemade Butter Tarts
Ingredients
Method
- Mix flour and salt in a large bowl. Fill a measuring cup with ice water (you will add it gradually, up to 1 cup). Set aside.
- Cut in the fats. Grate frozen butter directly into the bowl (frozen grates cleanly and stays cold longer). Add chilled shortening. Use a pastry blender or fork to work fats into the flour until it looks like coarse crumbs.
- Add ice water a spoonful at a time, mixing until the dough just comes together. You may not need the full amount. Do not overwork it.
- Gather into a ball, flatten into a thick disc, and wrap in plastic. Refrigerate for at least 2 hours, or overnight. The fats must be cold when the dough hits the oven. The dough keeps in the fridge for up to 3 days, so you can make it ahead. Let it sit out for 10 to 15 minutes before rolling if it feels too firm.
- Roll out on a lightly floured surface. Roll from the centre outward into a thin sheet. You want the pastry thinner than you would for a full pie, so the shells are delicate, not thick.
- Cut circles slightly larger than the cups of a standard 12-cup muffin tin. Press each circle gently into a cup. Gather the scraps, re-roll, and keep cutting until you have used all the dough.
- Chill the shells for 15 minutes before filling, so they hold their shape in the oven.
- Preheat your oven to 400°F. Place your filled tart shells on a baking sheet (this catches any overflow and makes them easier to move).
- Make the filling. Whisk the melted butter and brown sugar together until combined. Add the vanilla, eggs, and cream and whisk until smooth. The filling will be thin, and that is what you want.
- Fill the shells about two thirds of the way. They puff up in the oven and you do not want them to overflow.
- Bake for 15 minutes, until the filling is set around the edges but still has a slight jiggle in the centre. It will firm up as it cools.
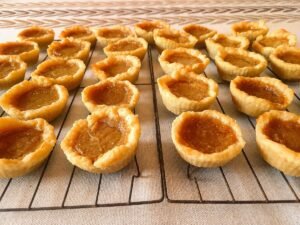
- Cool completely in the pan before removing. The filling needs time to set. I know it is hard to wait.
Notes
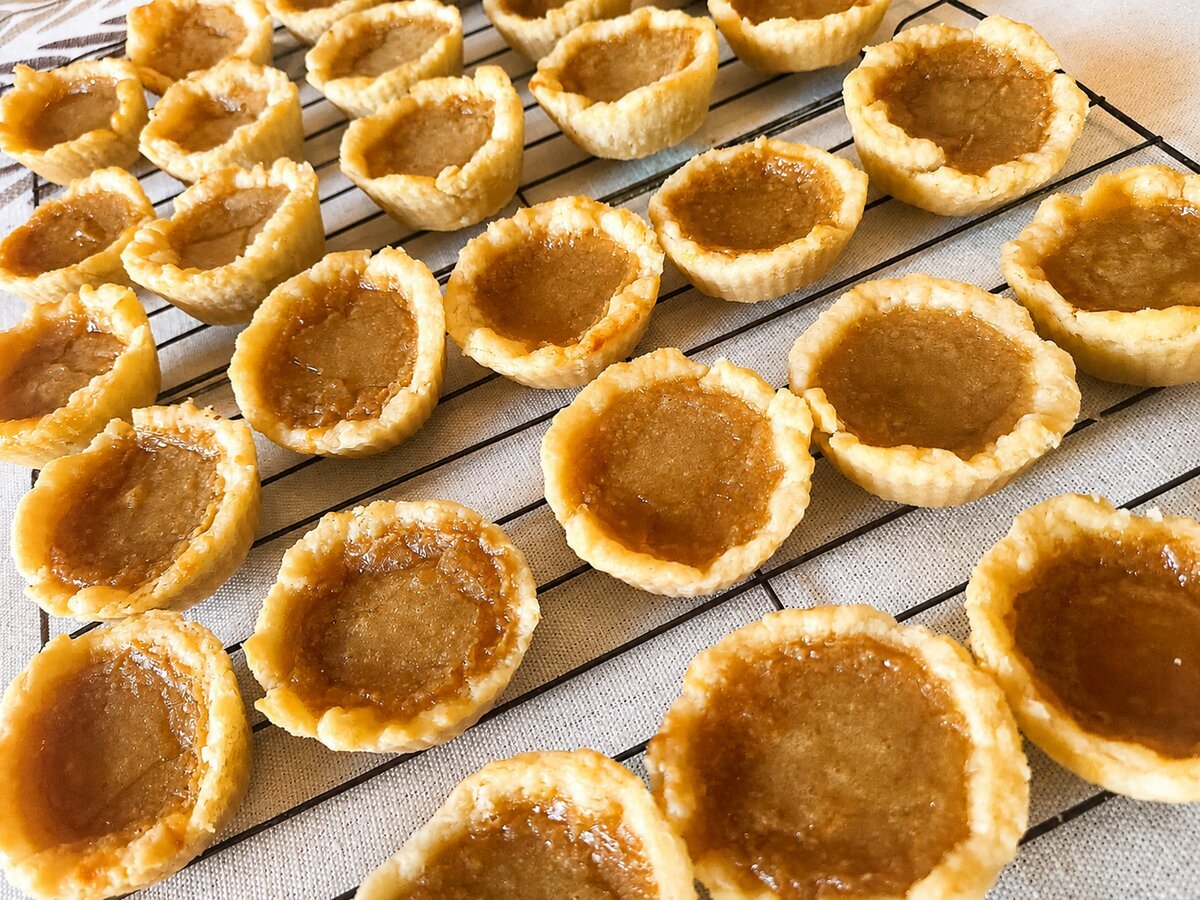
Next time you are headed somewhere and need something to bring, make these. A tin of butter tarts has never once been the wrong thing to show up with.