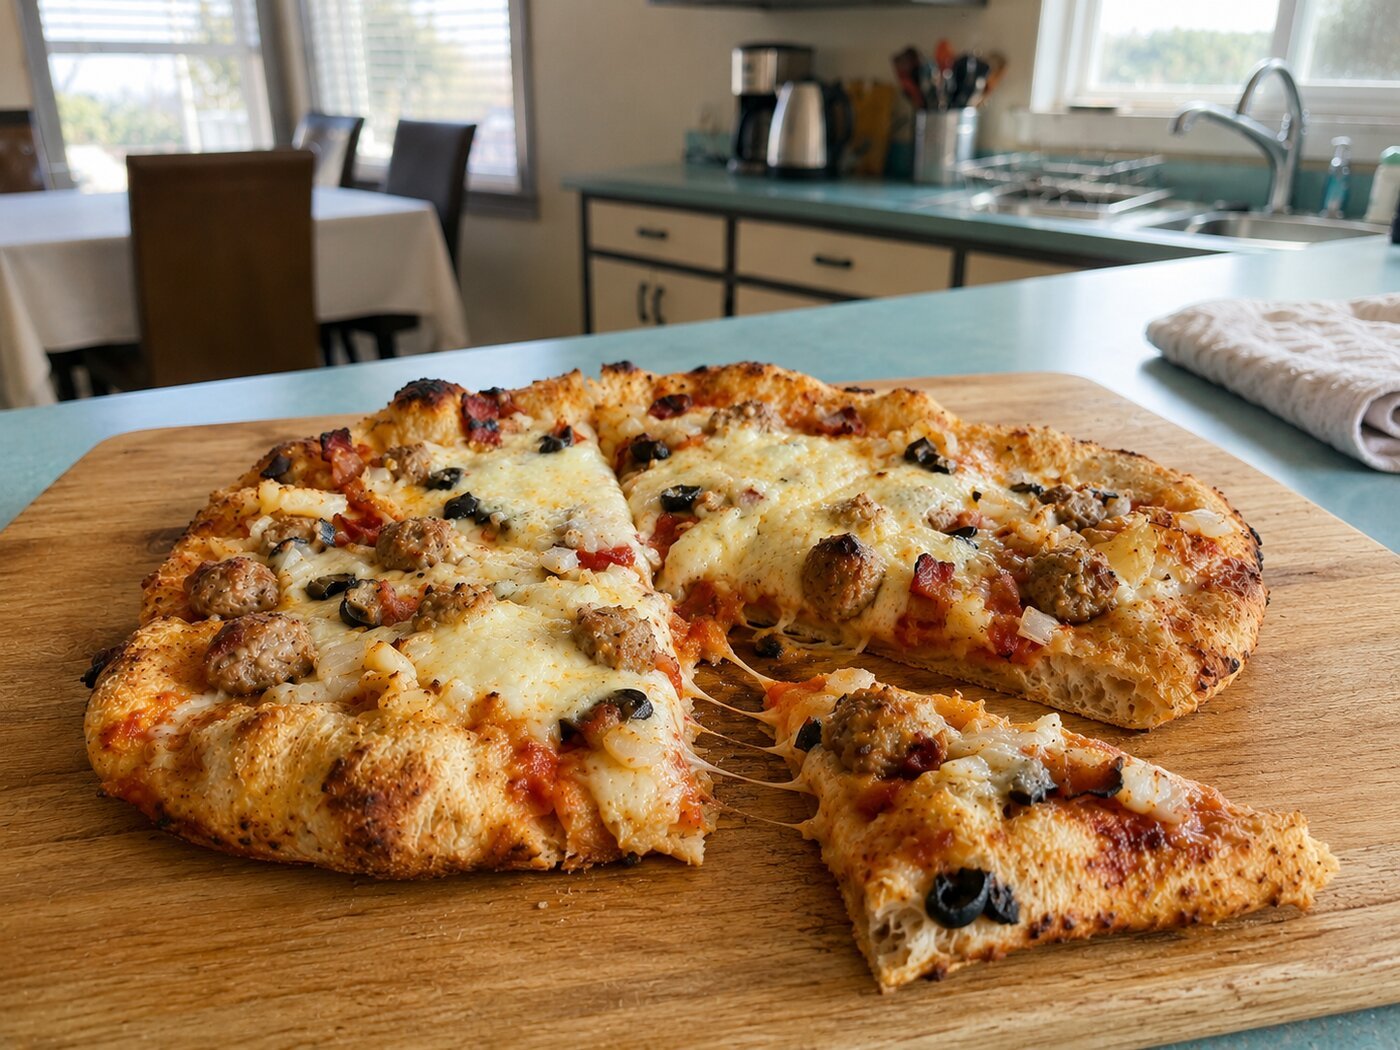
Growing up, my parents ordered pizza every single week. It was a staple supper in our house, as reliable as the week itself, and like anything you have too much of, I grew to dislike it. So when the girls planned a wood fire pizza night, I went for the company, not the pizza. Then somewhere between the first and second slice, it caught me off guard. I actually love pizza.
What I did not love was the bill. Seventy dollars for two pizzas. I nearly fell off my chair. As a kid, the bill was never mine to think about. It just showed up on the table.
After that night, and my newfound love for pizza, I decided I’d make my own. How hard could it be? Flour, water, yeast, a hot oven. People have been doing it for centuries. Now, a reasonable person might have just ordered pizza a little less often. Instead, I bought a Blackstone pizza oven. It cost me far more than a few nights out ever would, but I chose not to think about that.
For a while I used it constantly. One night my parents came over and we made pizza together, the three of us crowded around it, and at some point my mum mentioned that she and my dad used to make pizza when they first started dating. They’d forgotten how much fun it was. Suddenly the weekly pizza of my childhood made sense. It had been special to them long before it was ever a habit.
Then things changed. I moved in with Jason, and the oven sat cold in the corner. He has a pizza place he loves, and to him, ordering in is a way to give me a night off from cooking, which is sweet. But I love cooking, and I kept telling myself I’d get back to it.
A few weeks ago we had people coming over, and I finally decided this was my chance to dust it off. I made the dough the night before, tucked it in the fridge, and fired the oven back up when everyone arrived. Two years of waiting, and it was the best pizza I’ve made.
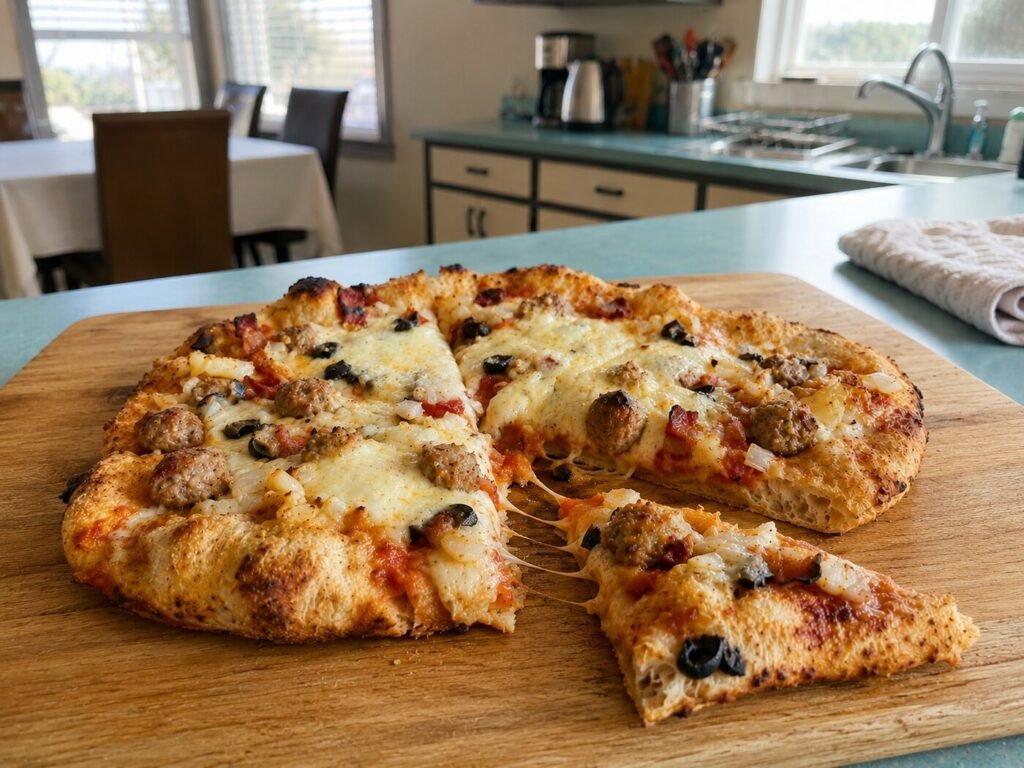
Here’s the thing, though. I love that oven, but it’s not the secret. I bought one because I get carried away. The dough is the real trick, and it doesn’t care what it bakes in. It works in whatever oven you’ve got, cranked as hot as it will go with a pizza stone or a heavy baking sheet heating up inside.
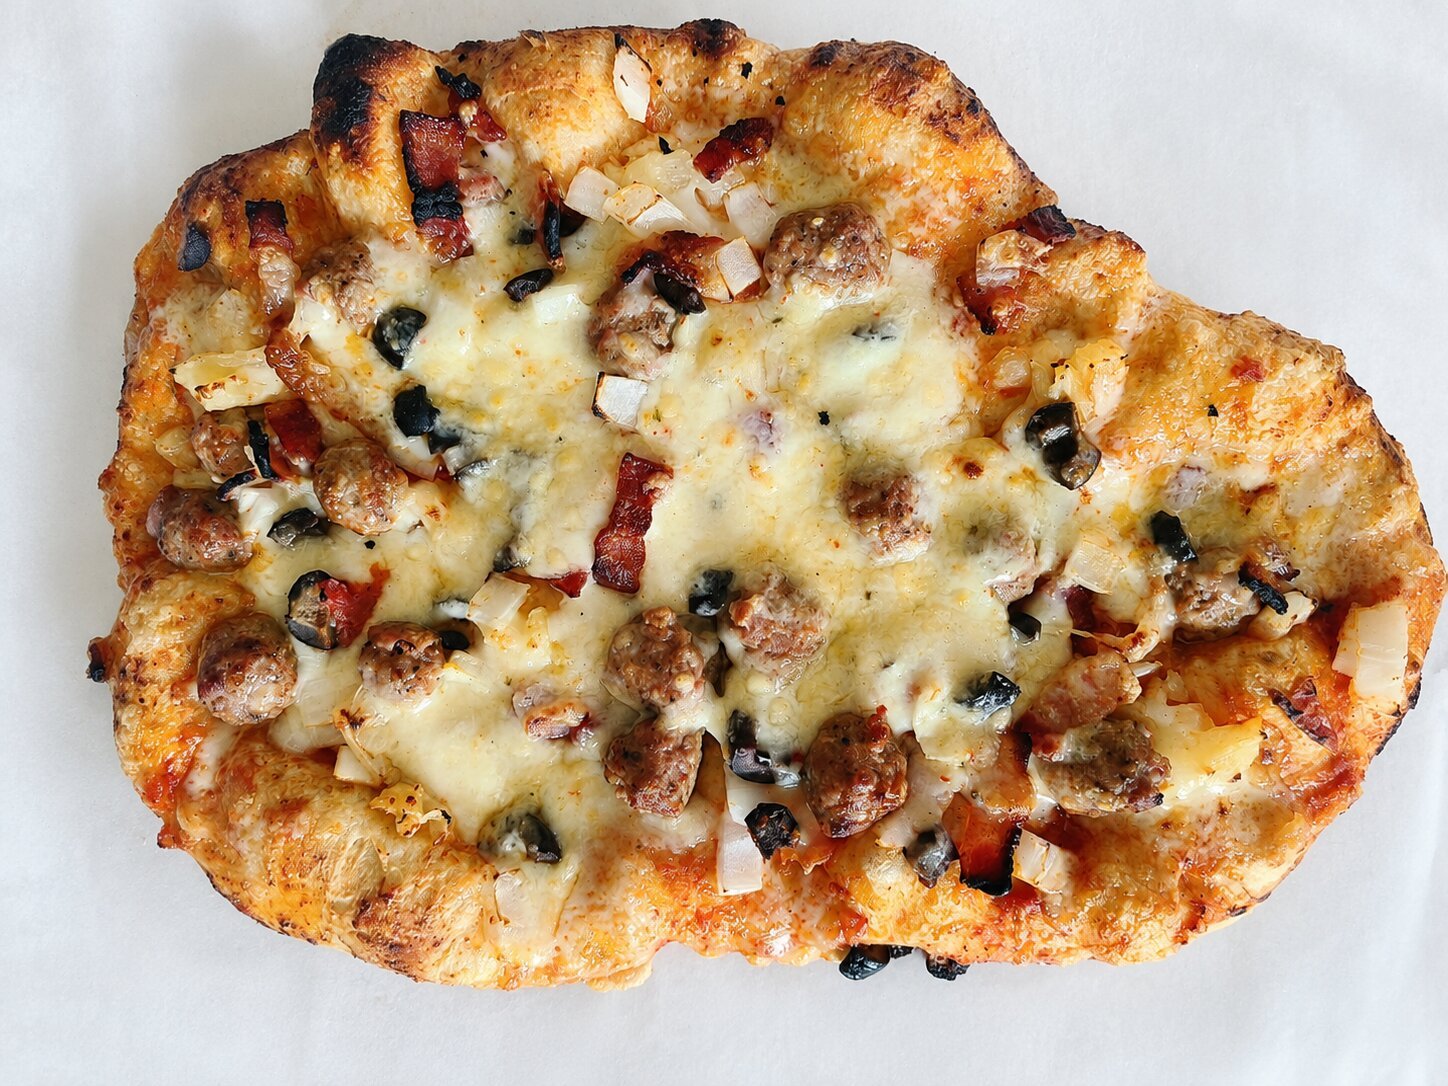
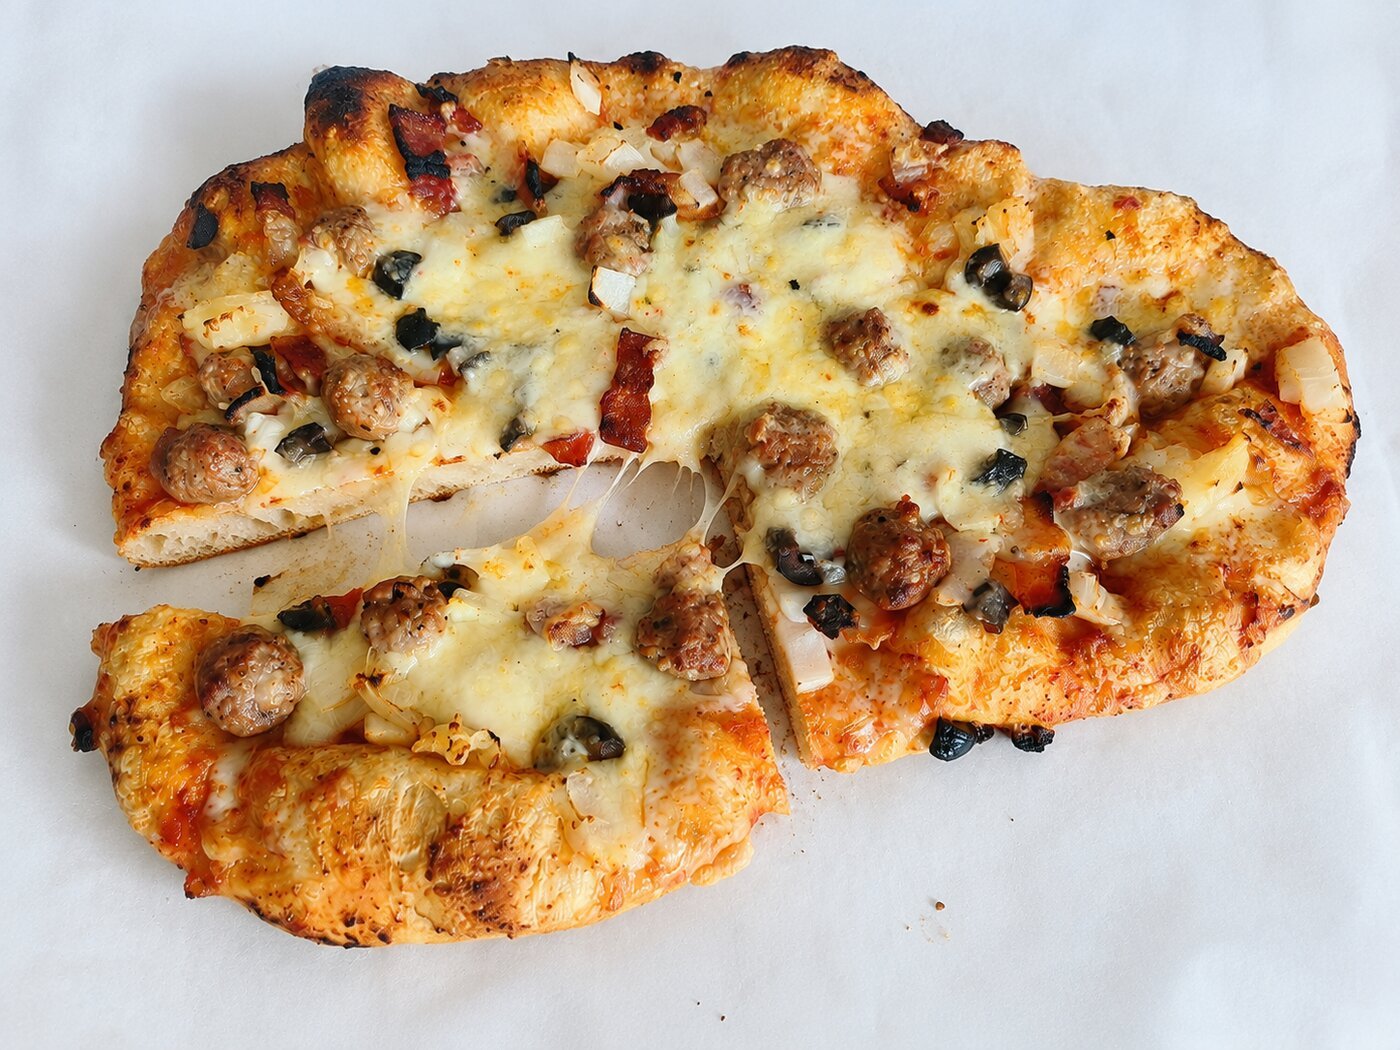
That’s what good homemade pizza is. Puffy, blistered edges that bubble up in the heat, crisp on the bottom, chewy in the middle, and piled with whatever you love. The kind you eat standing at the counter before it even makes it to a plate. It won’t always be a perfect circle, and that’s part of it. That’s character.
The dough does the work. A little olive oil, bread flour for structure, and time. You make it the day before, let it rest in the fridge overnight, and pull it out when you’re ready. That slow, cold rest gives it a flavour you can’t rush.
I let it gather dust. Don’t be like me. My mum and dad had it right all along. It was never really about the pizza. It was about crowding into the kitchen with the people you love and making something together.
How the dough comes together
It comes together in a few simple stages. Here’s each one.
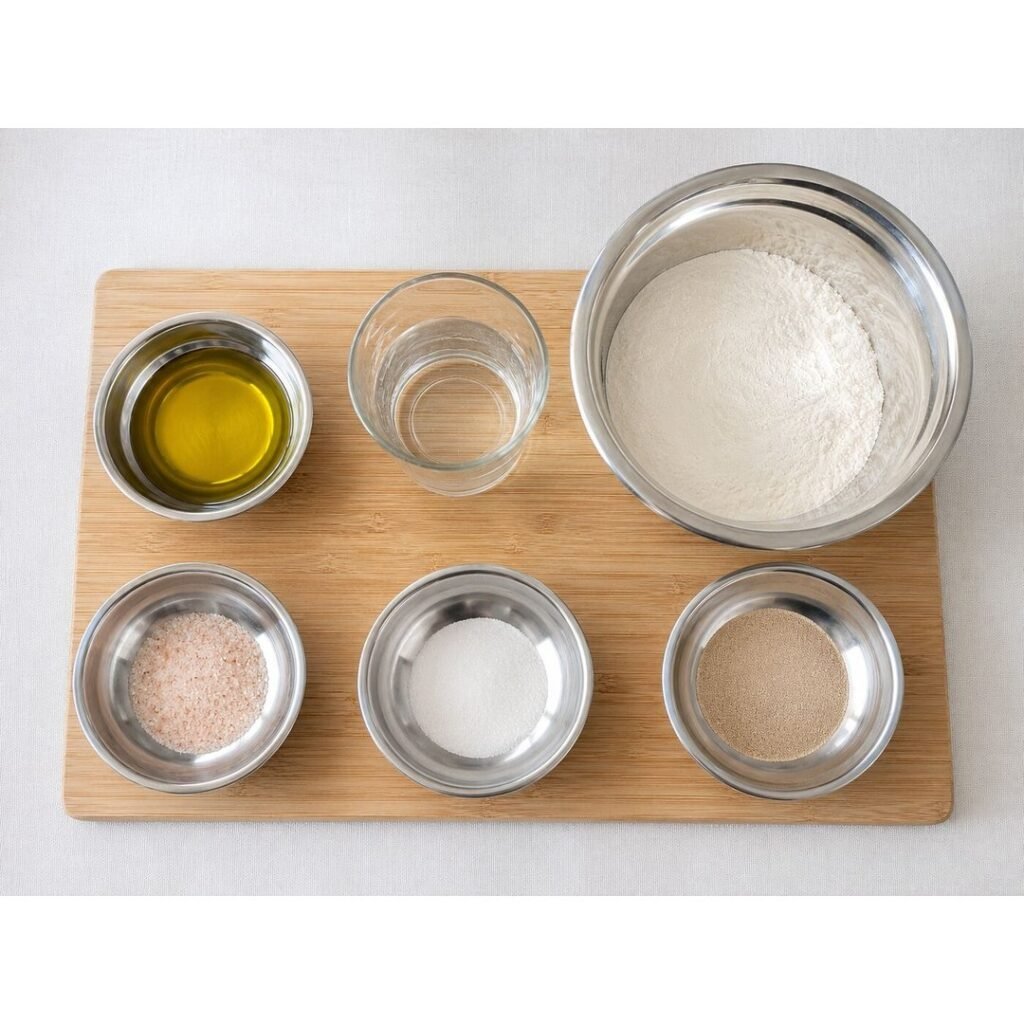
Rustic Homemade Pizza Dough
Ingredients
Method
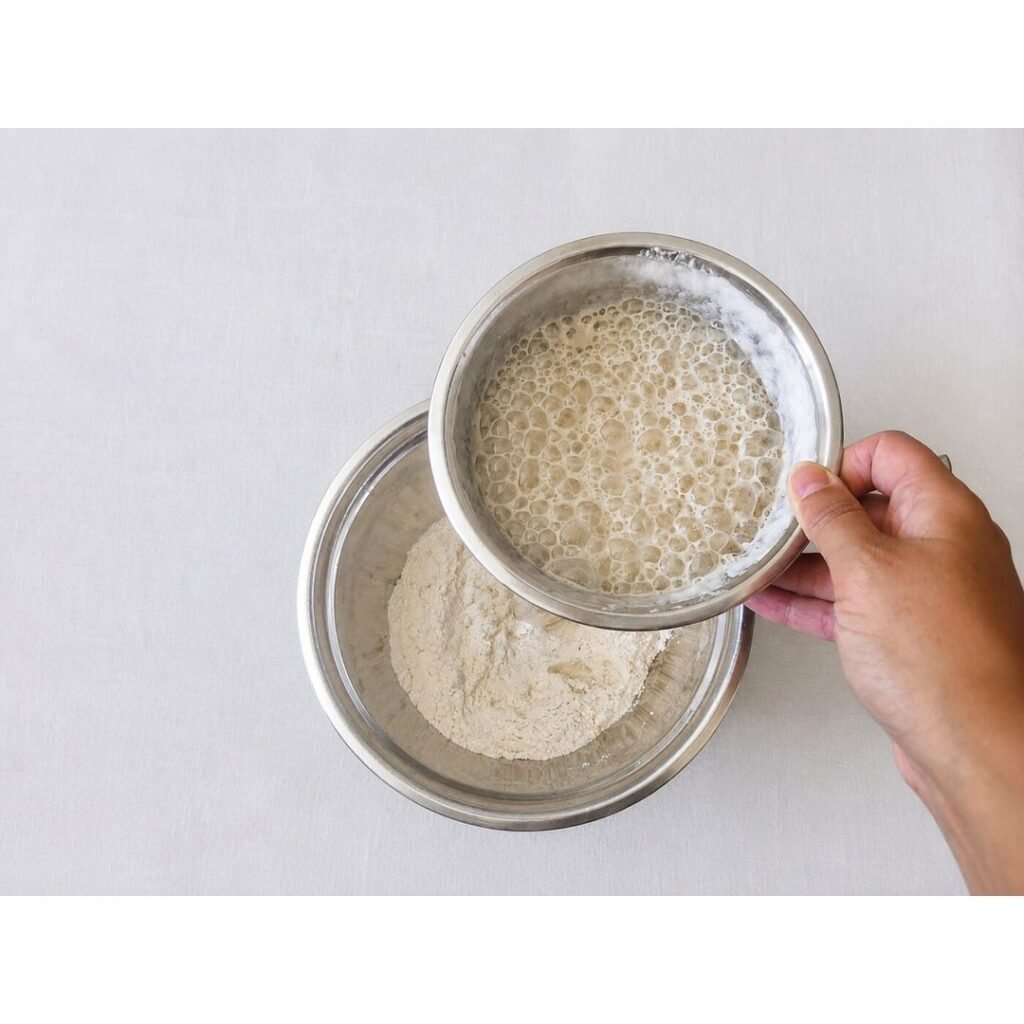
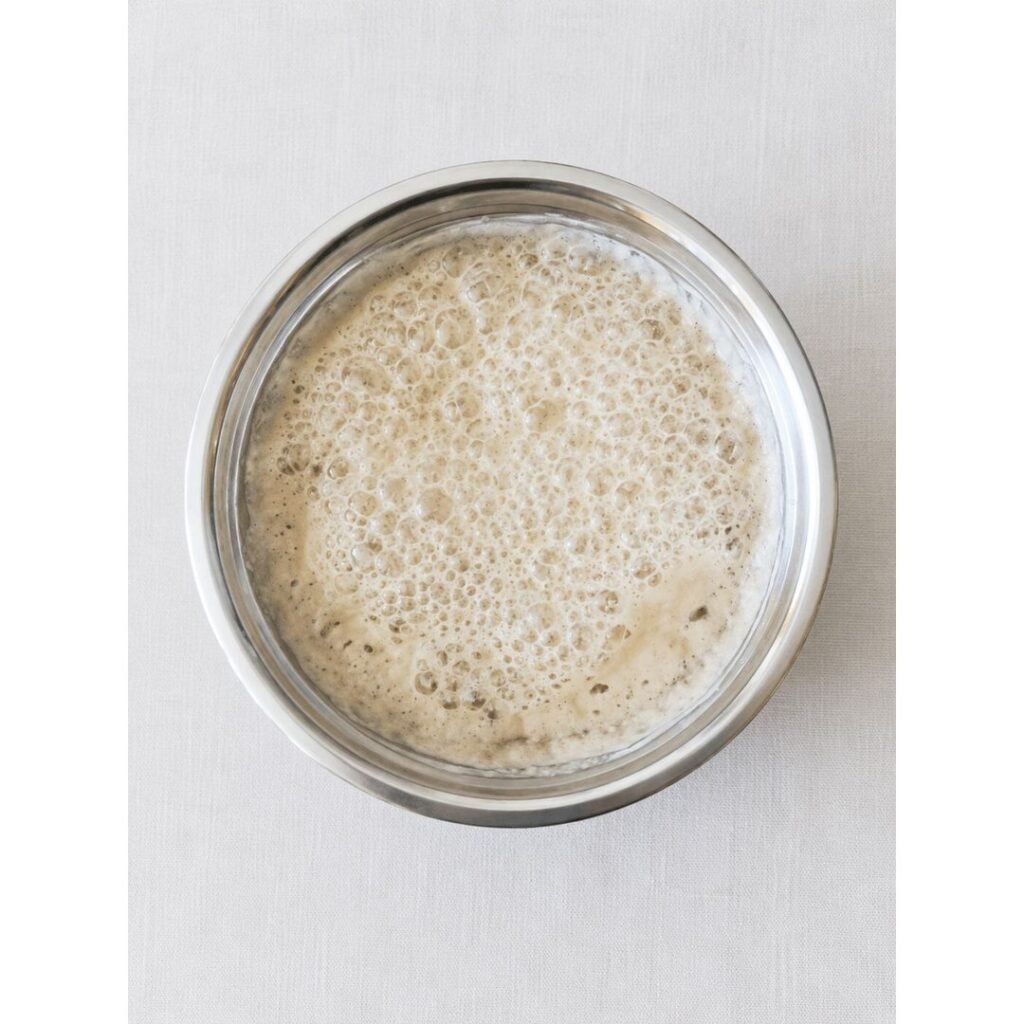
- Proof the yeast. Add the warm water, yeast, sugar, and 1/2 cup of the flour to a large mixing bowl. Stir well and leave it for 20 minutes. It will get bubbly and smell yeasty. That is how you know the yeast is alive. If nothing happens after 20 minutes, stop here. Your water was too hot or too cold, or your yeast is past its prime. Start fresh before you go any further.
- Build the dough. Add the olive oil, salt, and 2 cups of the flour. Mix with a wooden spoon until it comes together enough to turn out onto a lightly floured surface.
- Knead. Knead for about 10 minutes, adding the rest of the flour a little at a time to keep the dough from sticking. You want it soft, elastic, and slightly sticky. Do not add too much flour or the crust will turn out tough.
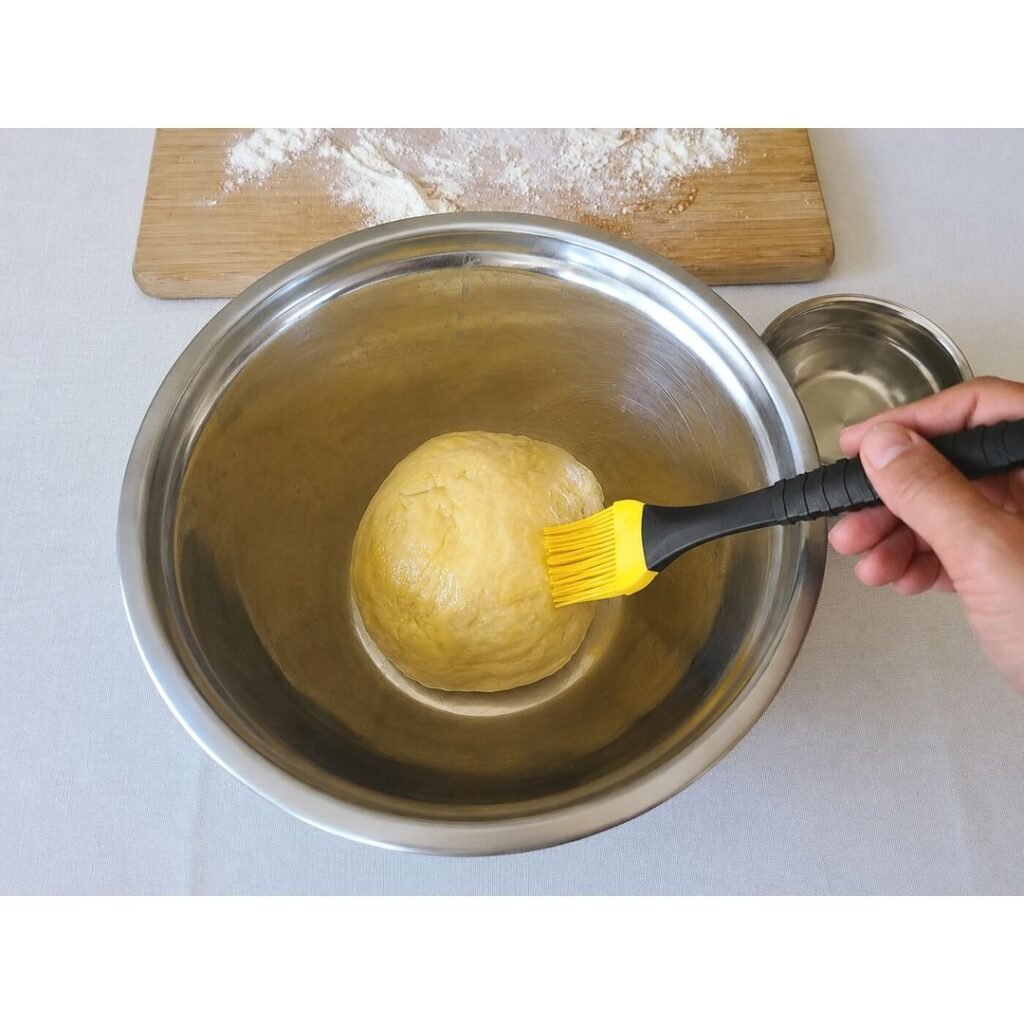
- Oil the dough. Form the dough into a ball and place it in a large oiled bowl. Drizzle a few drops of olive oil over the top and coat it lightly so the surface does not dry out.
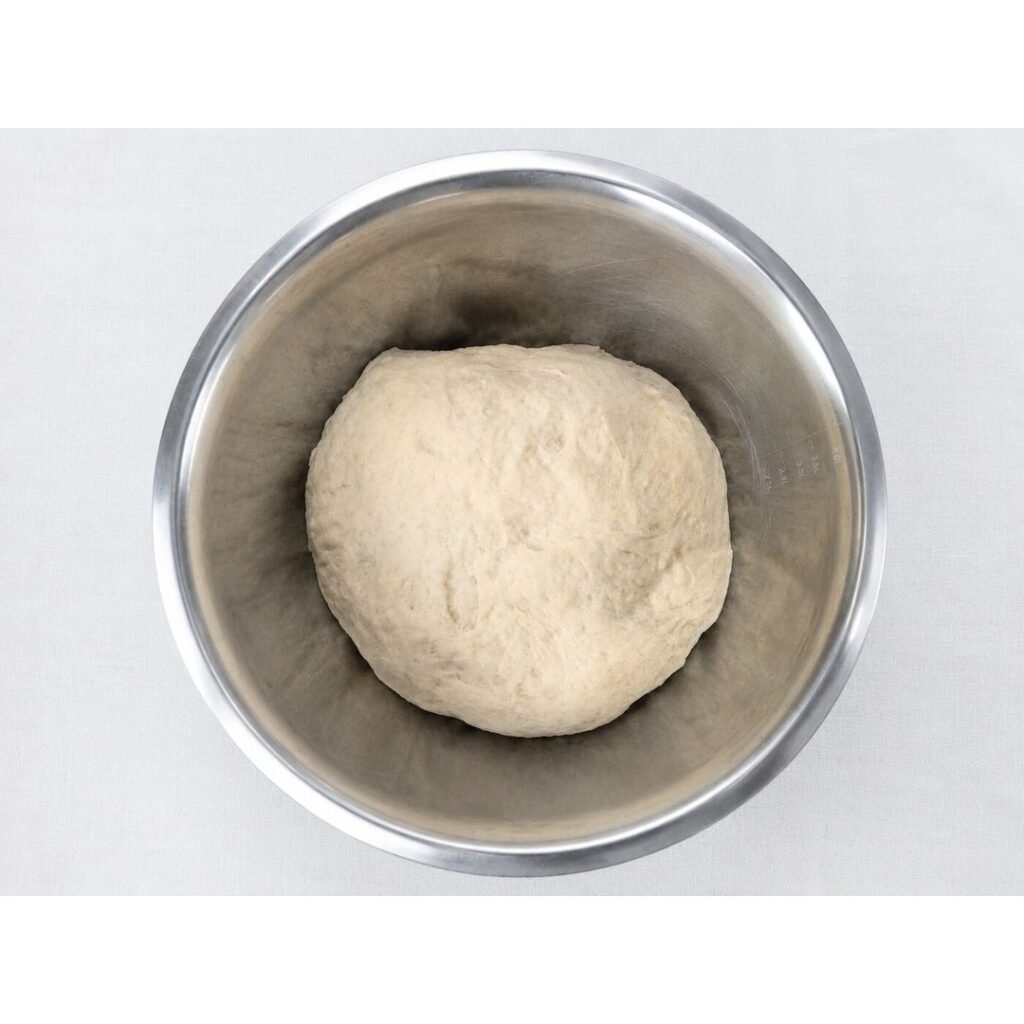
- Let it rise. Cover with a clean kitchen towel and put it somewhere warm for about 2 hours, or until it doubles in size. I like to put it in my oven, here is my secret. Turn your oven to its lowest heat for just one minute, then turn it completely off and put your covered bowl inside. It should feel mild in there, like a warm day, not hot. Don’t leave the oven on — too much heat will kill the yeast.
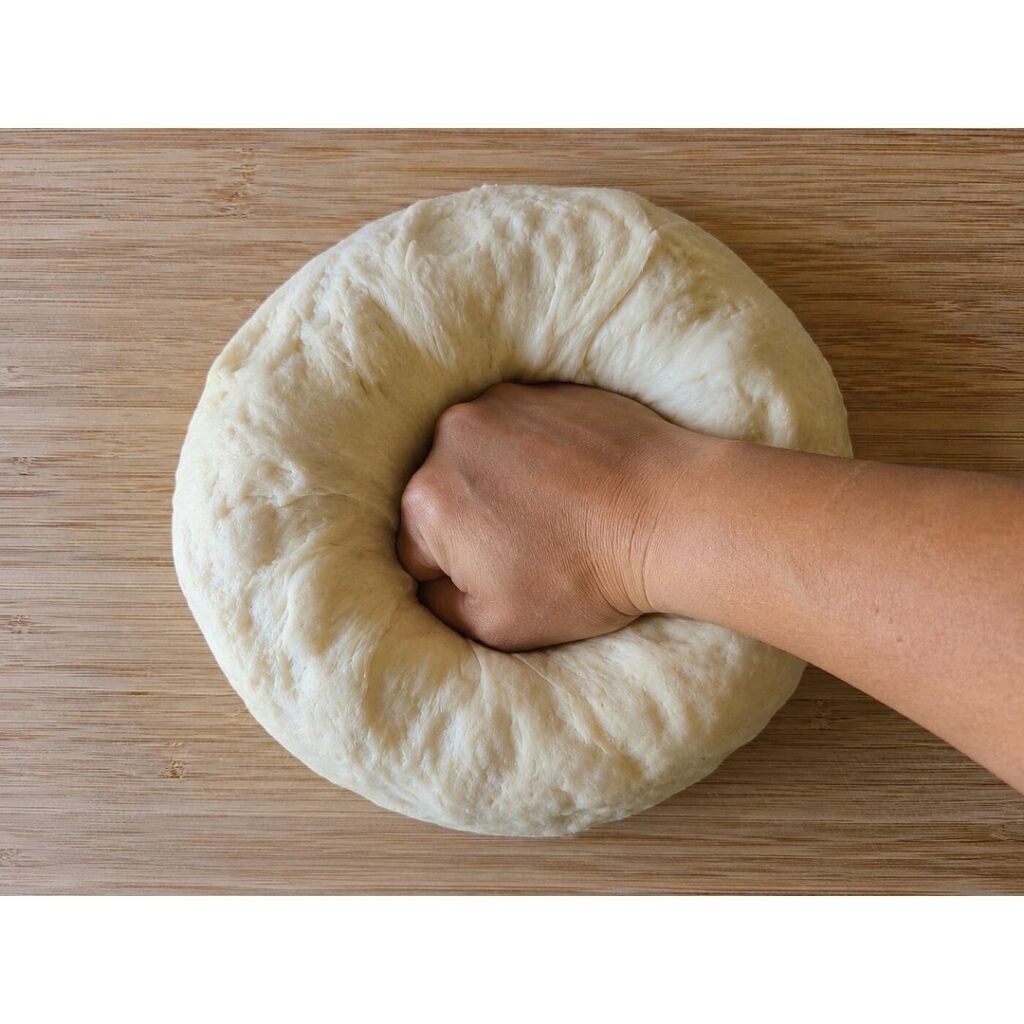
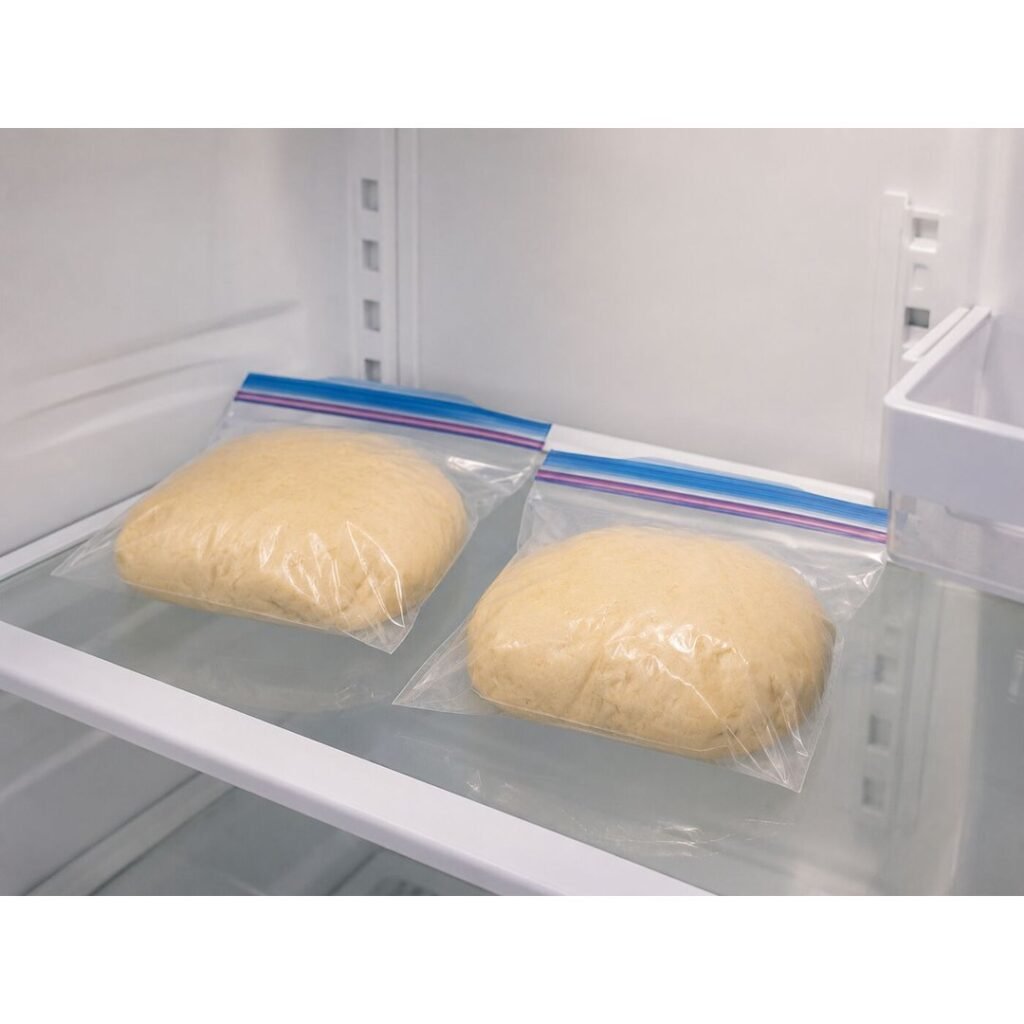
- Divide and chill. Punch the dough down, divide it into 2 balls, and place each in a large zip-lock bag. Refrigerate overnight. This is where the flavour develops, so do not skip it.
- Bring to room temperature. When you are ready to make your pizza, take the dough out of the fridge and let it come to room temperature, at least 30 minutes. Cold dough will fight you.
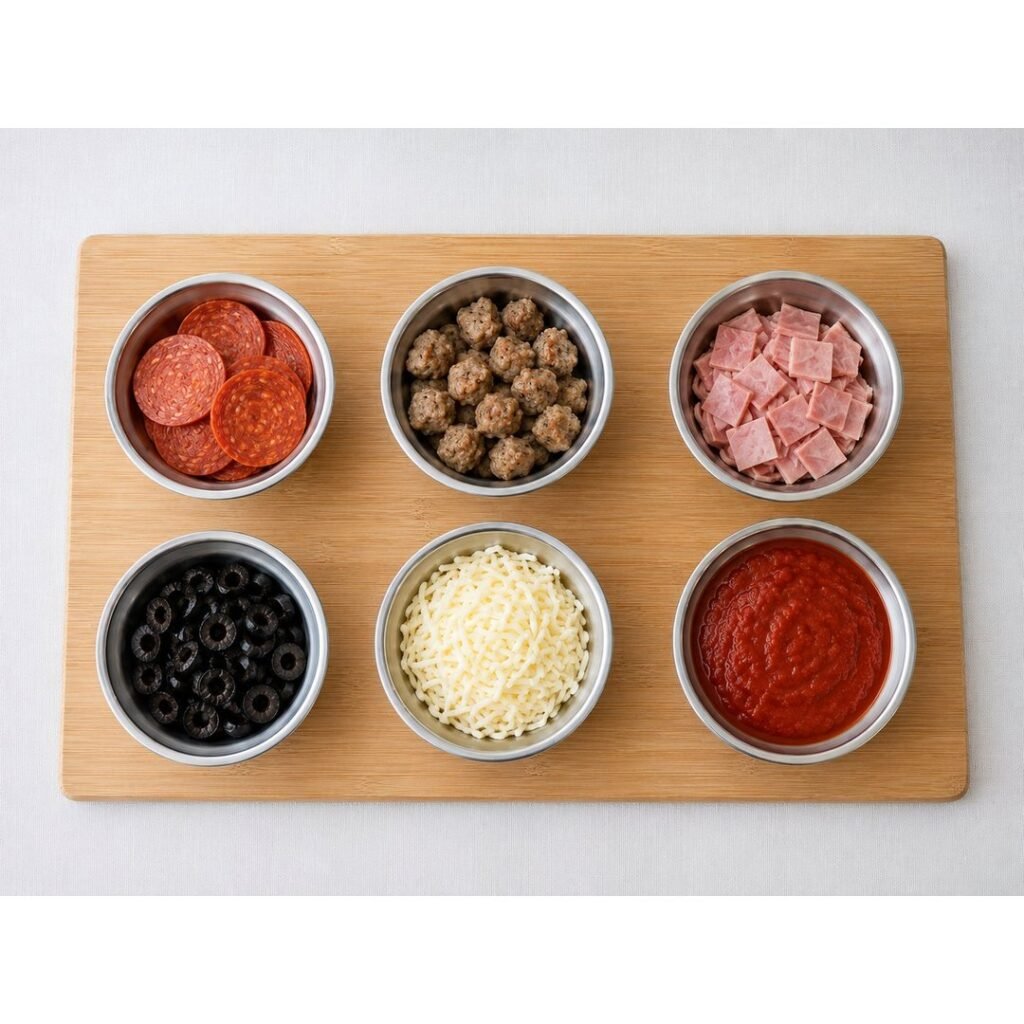
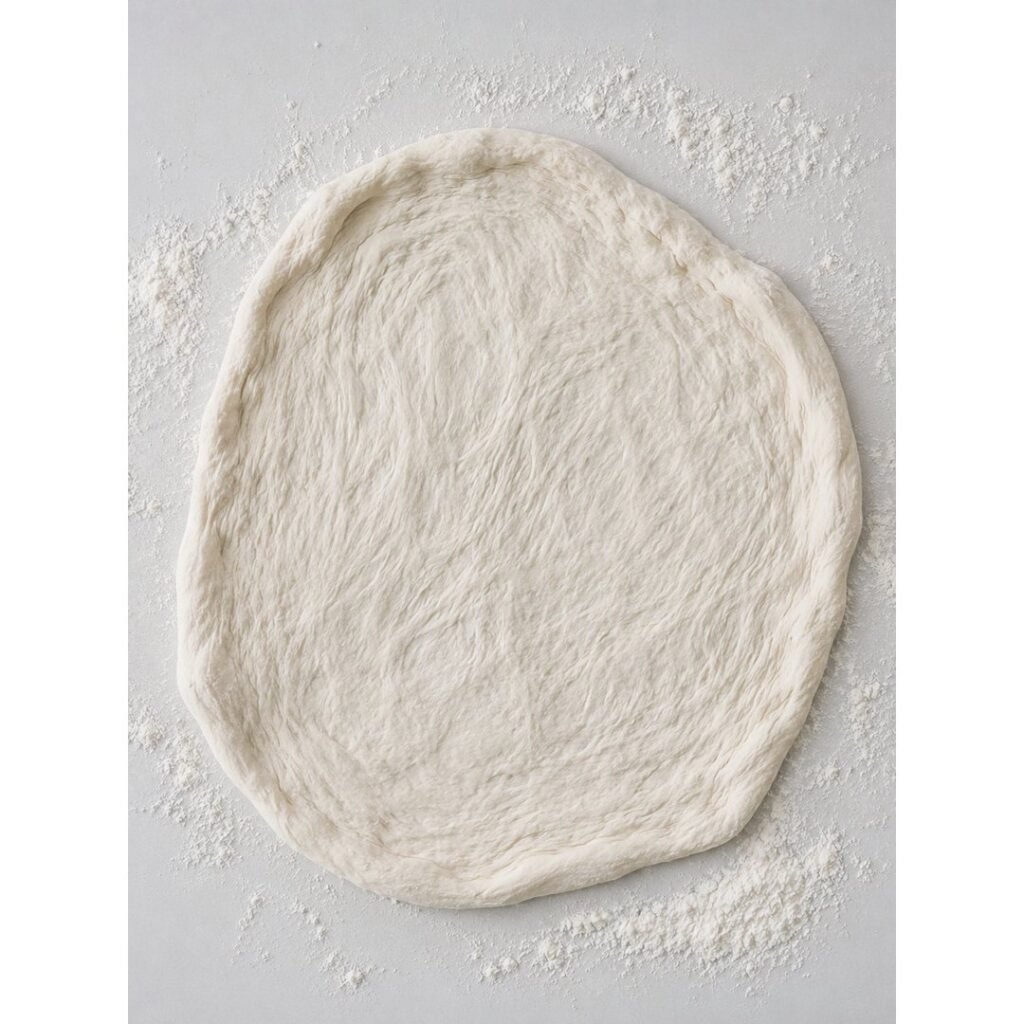
- Stretch, top, and bake. Stretch the dough by hand, working from the centre out and rotating as you go. You want it thin. Top it however you like. Bake in an oven preheated as hot as it will go, ideally 500°F (260°C), with a pizza stone or heavy baking sheet that has been heating inside for at least 30 minutes. Bake for 10 to 12 minutes, checking from 8 minutes on, until the crust is golden and the cheese is bubbling with a few brown spots.
Notes
♥